
Core Concepts
GenAI Editor
CodeCargo provides a powerful interface to edit your code with the help of our Expert Workflow Agent. Our agent specializes in working with all types of automations - GitHub Actions, GitLab CI Pipelines, Jenkins, etc. It also works well with secondary integrations used by pipelines such as infrastructure-as-code and Helm Charts. It can perform general code edits as well, but specializes in working with automations.
Workspace
Any time you open the Editor, you are working within a workspace — a collection of files and repositories that serves as context for the GenAI Agent. CodeCargo saves the state of your workspaces (including any code modifications) automatically, so your changes are preserved even if you switch workspaces or log out. See Workspaces for the full explanation of how workspaces work.
Understanding the User Interface
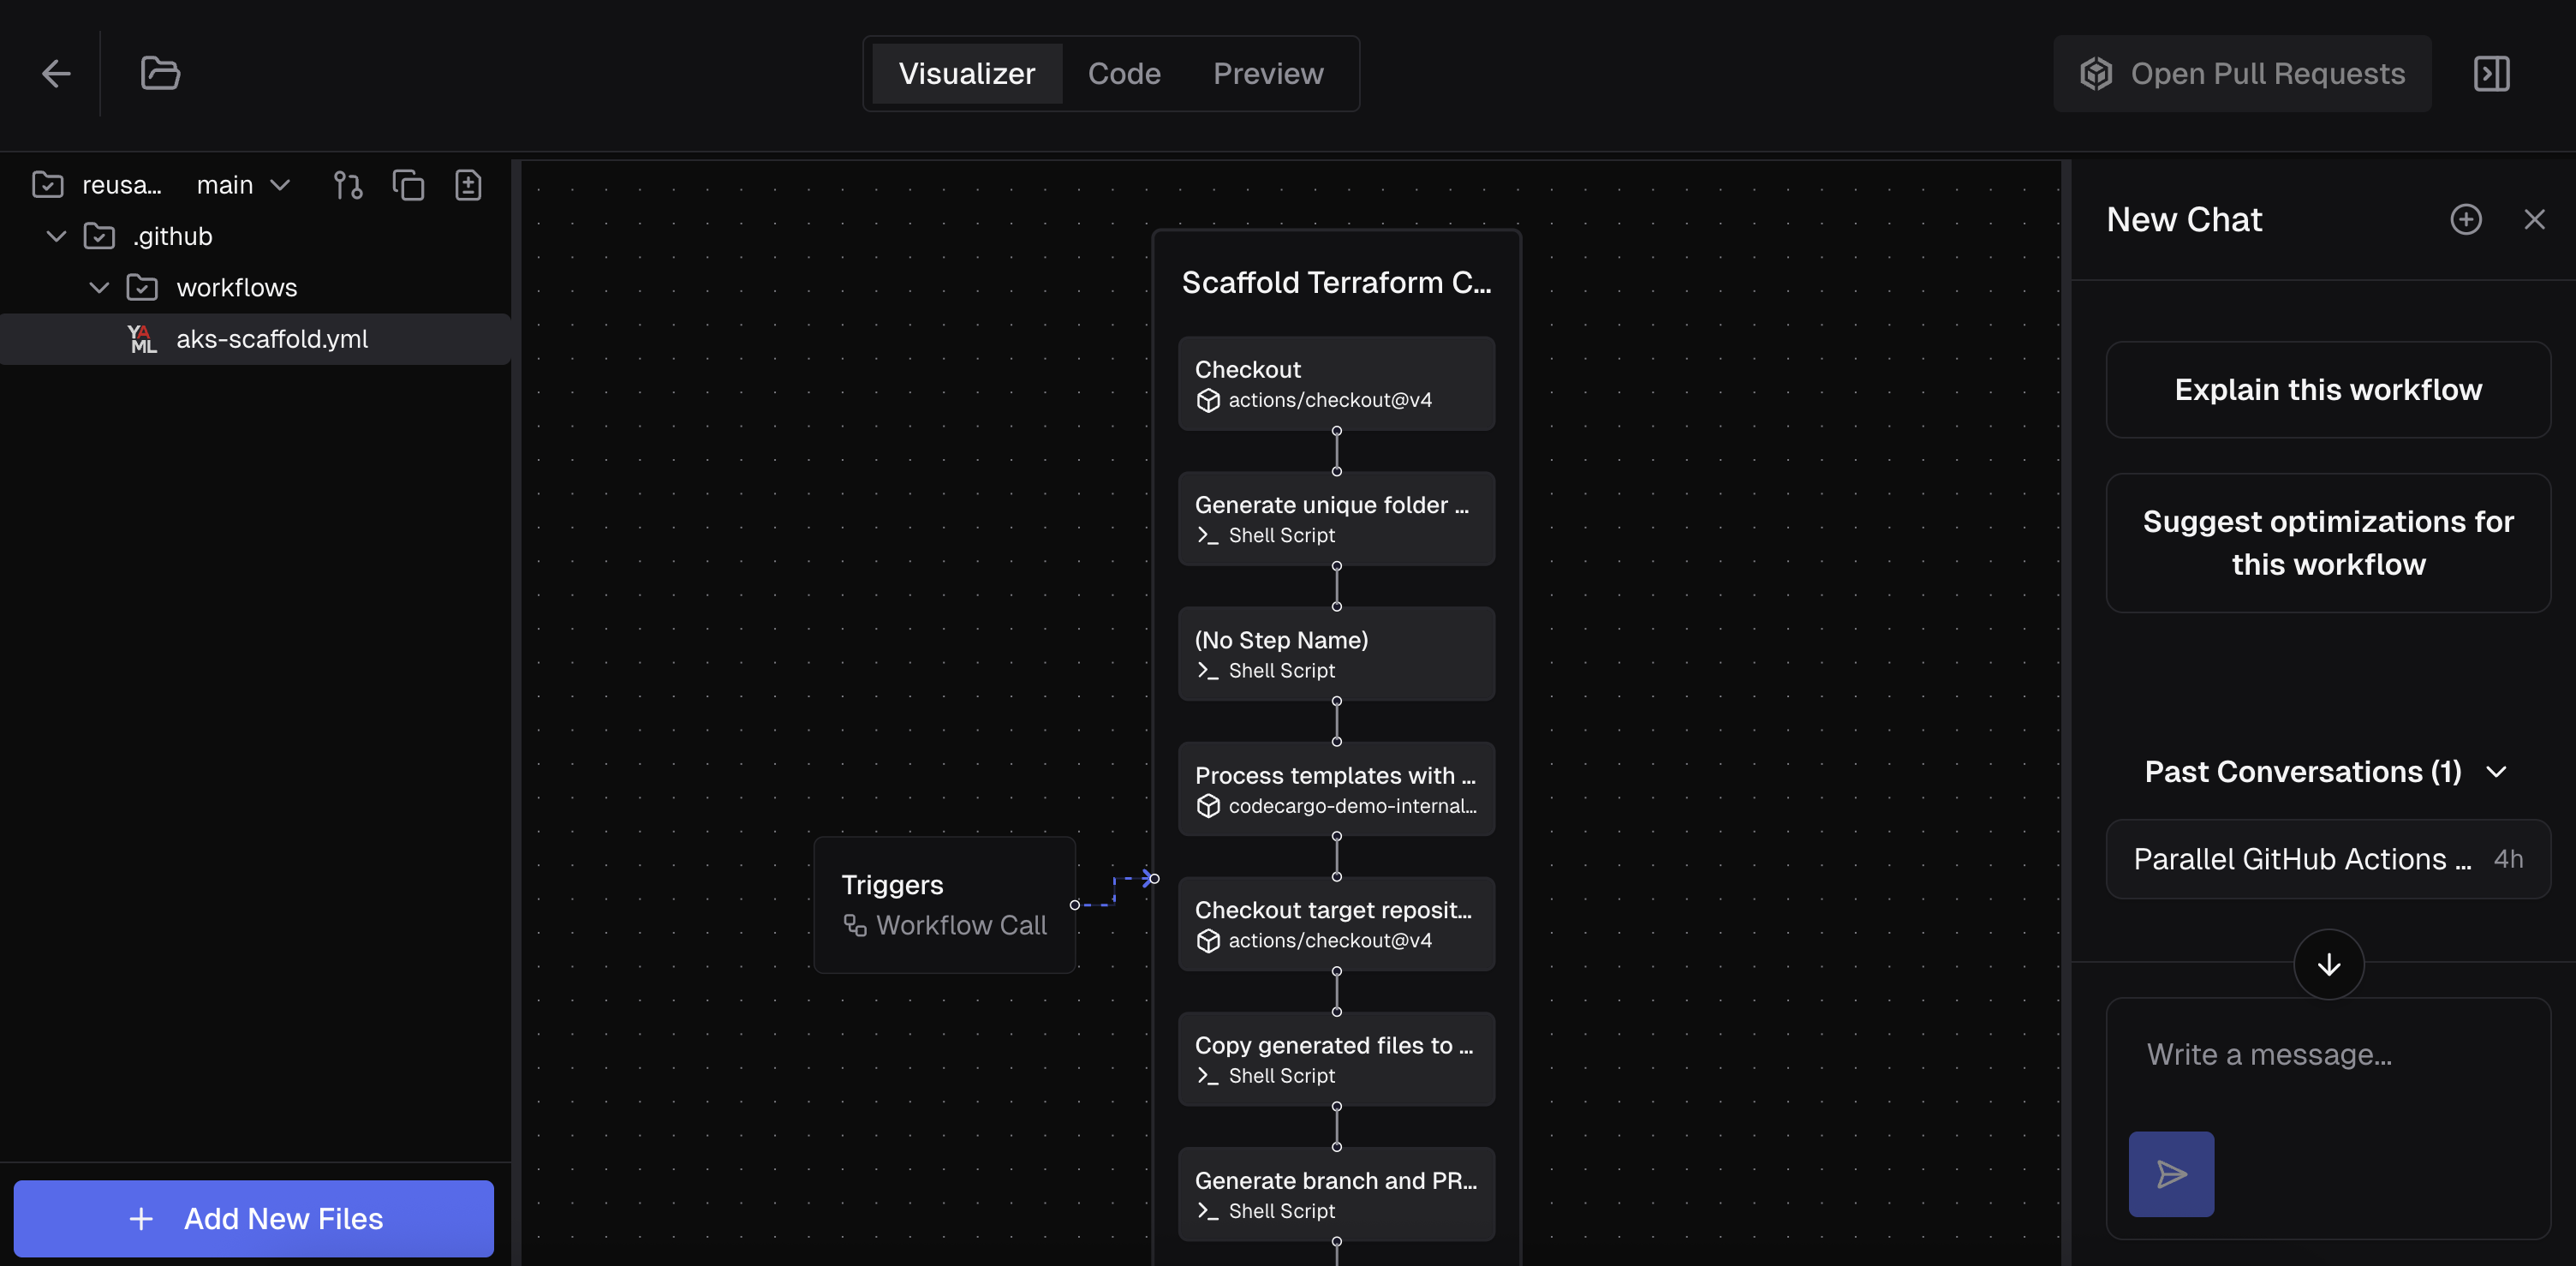
The GenAI Editor is a powerful interface to edit your code. The left side of the screen shows the files currently active in the Editor, for example, aks-scaffold.yml. For a file to become "active," you must have explicitly added it to your workspace or edited it.
The right side of the screen is the chat interface where you can talk to the Expert Workflow Agent.
The center of the screen has up to 3 views:
- Visualizer - shows GitHub Actions Workflows in visual form
- Code - code editor with multi-language syntax highlighting
- Preview - shows changes between the original and current state of the file (assuming edits were made)
Visualizer
The Visualizer currently works for GitHub Actions Workflows that contain jobs. It shows the different trigger events, jobs, and steps within each job. You can click on each of those for additional information.
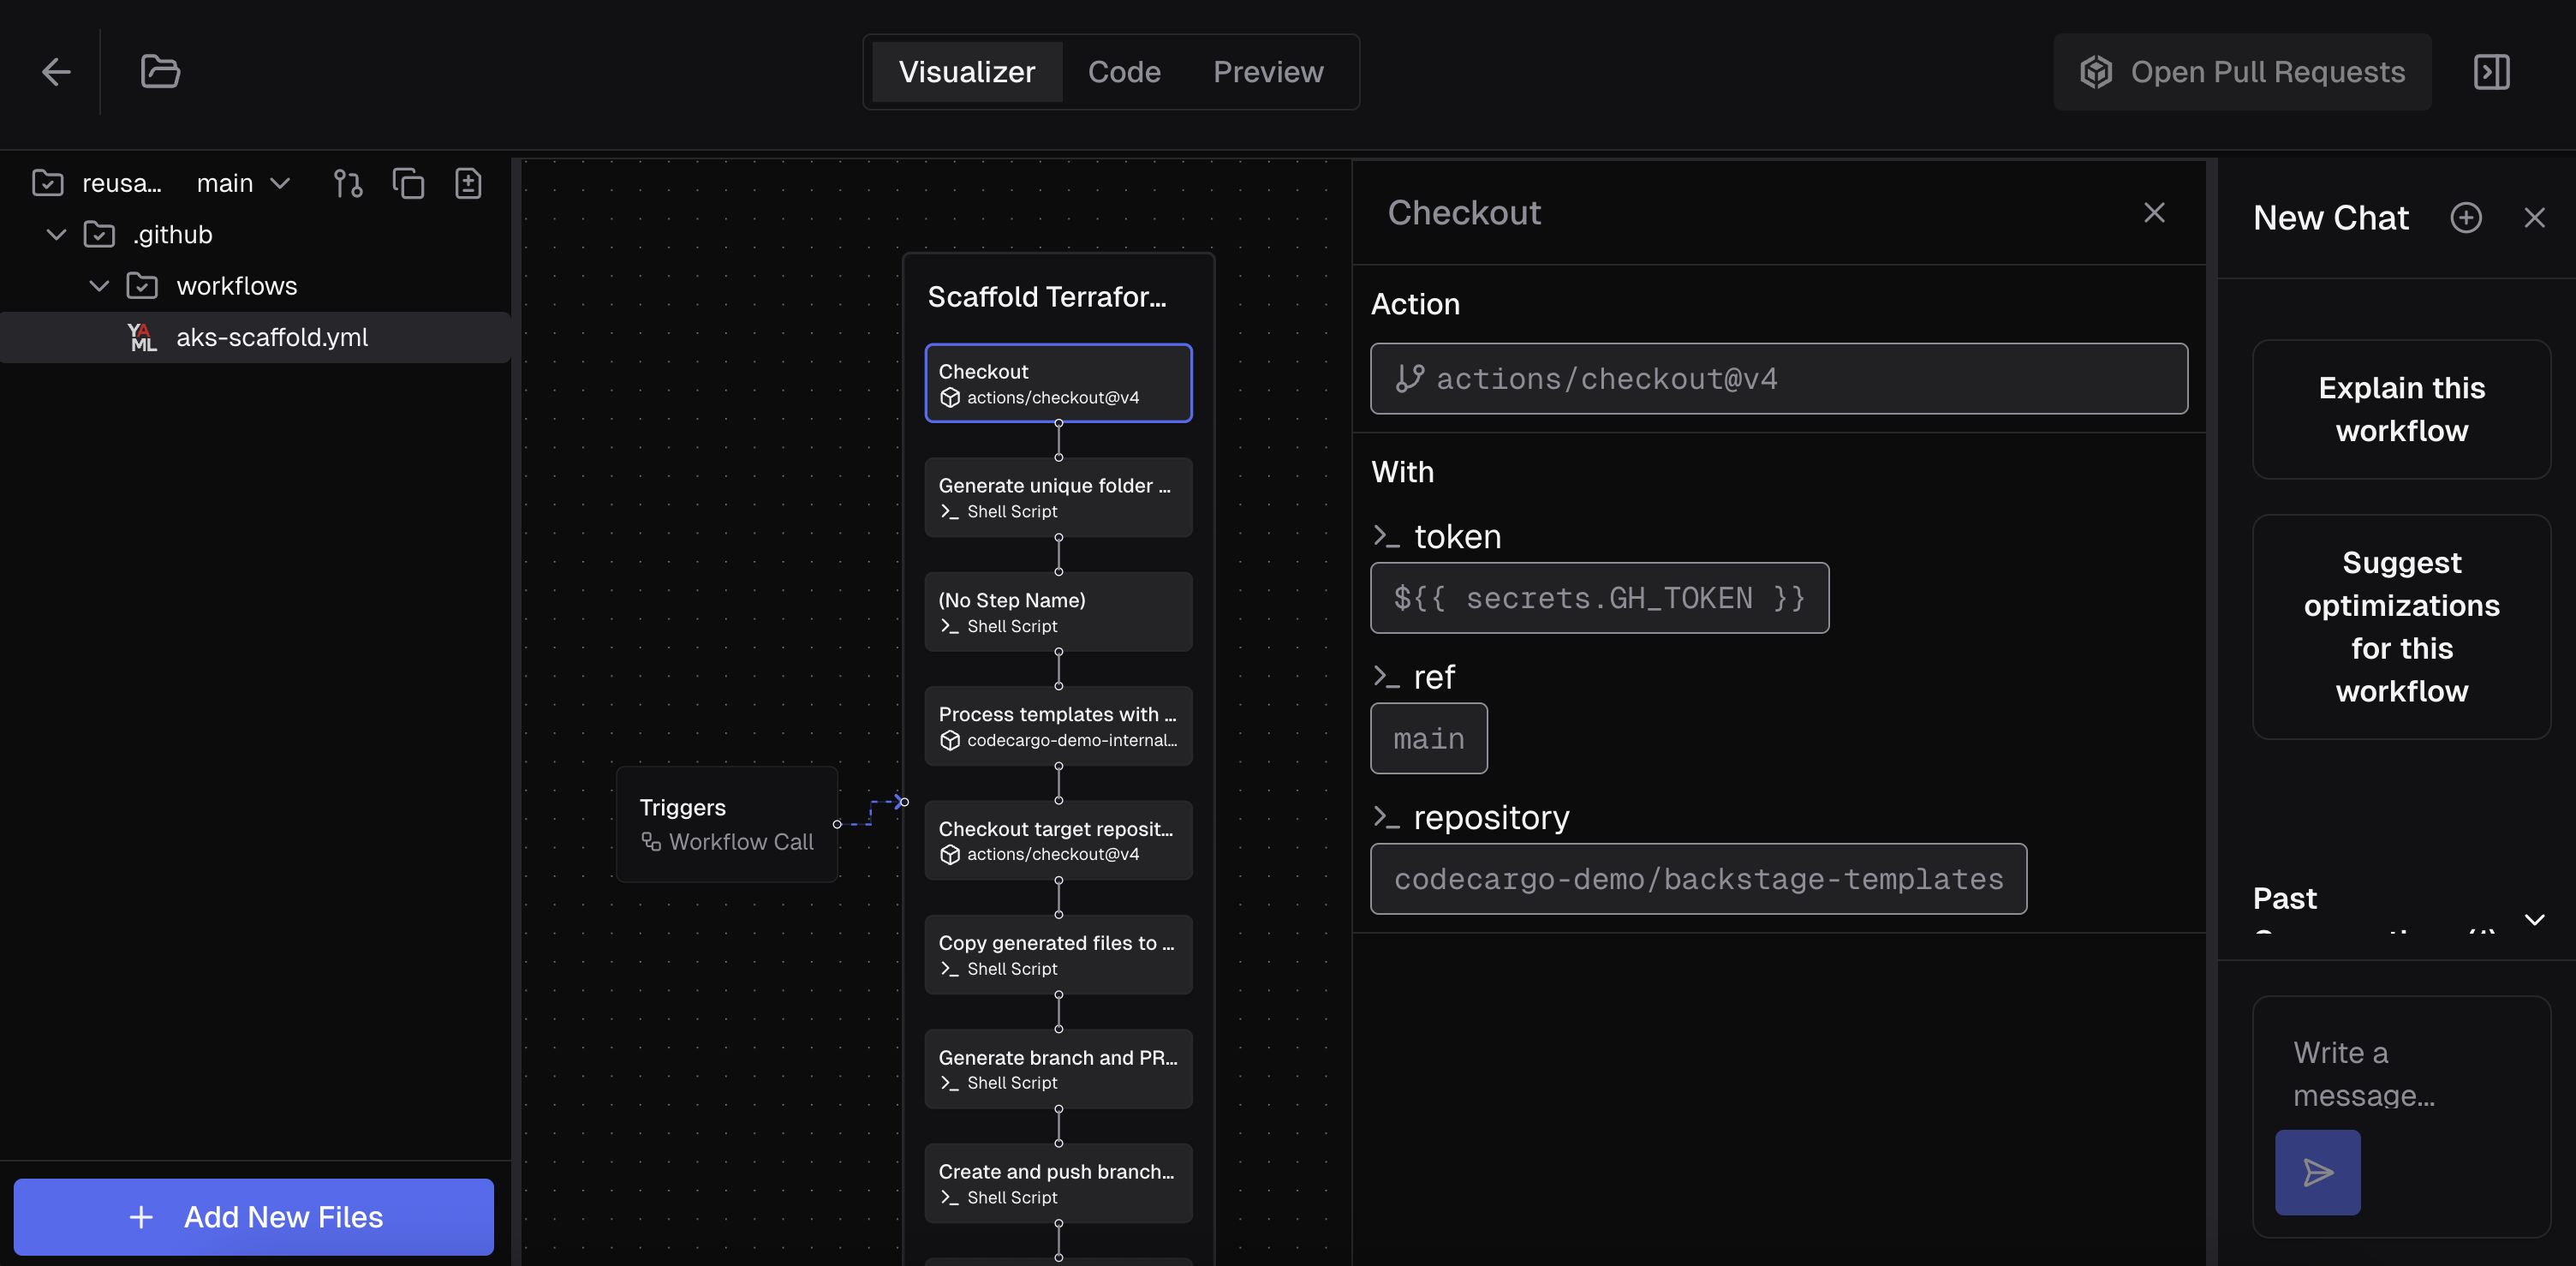
Jumping to Code
When viewing a workflow in the visualizer, you can click on any job or step to view its details in the side panel. Each detail panel includes a View in code button that jumps directly to the corresponding YAML in the code editor:
- Job nodes: Jump to the job definition line
- Step nodes: Jump to the specific step within the job
- Strategy nodes: Jump to the strategy configuration
This makes it easy to switch between the visual representation and the underlying code without manually searching through the YAML file.
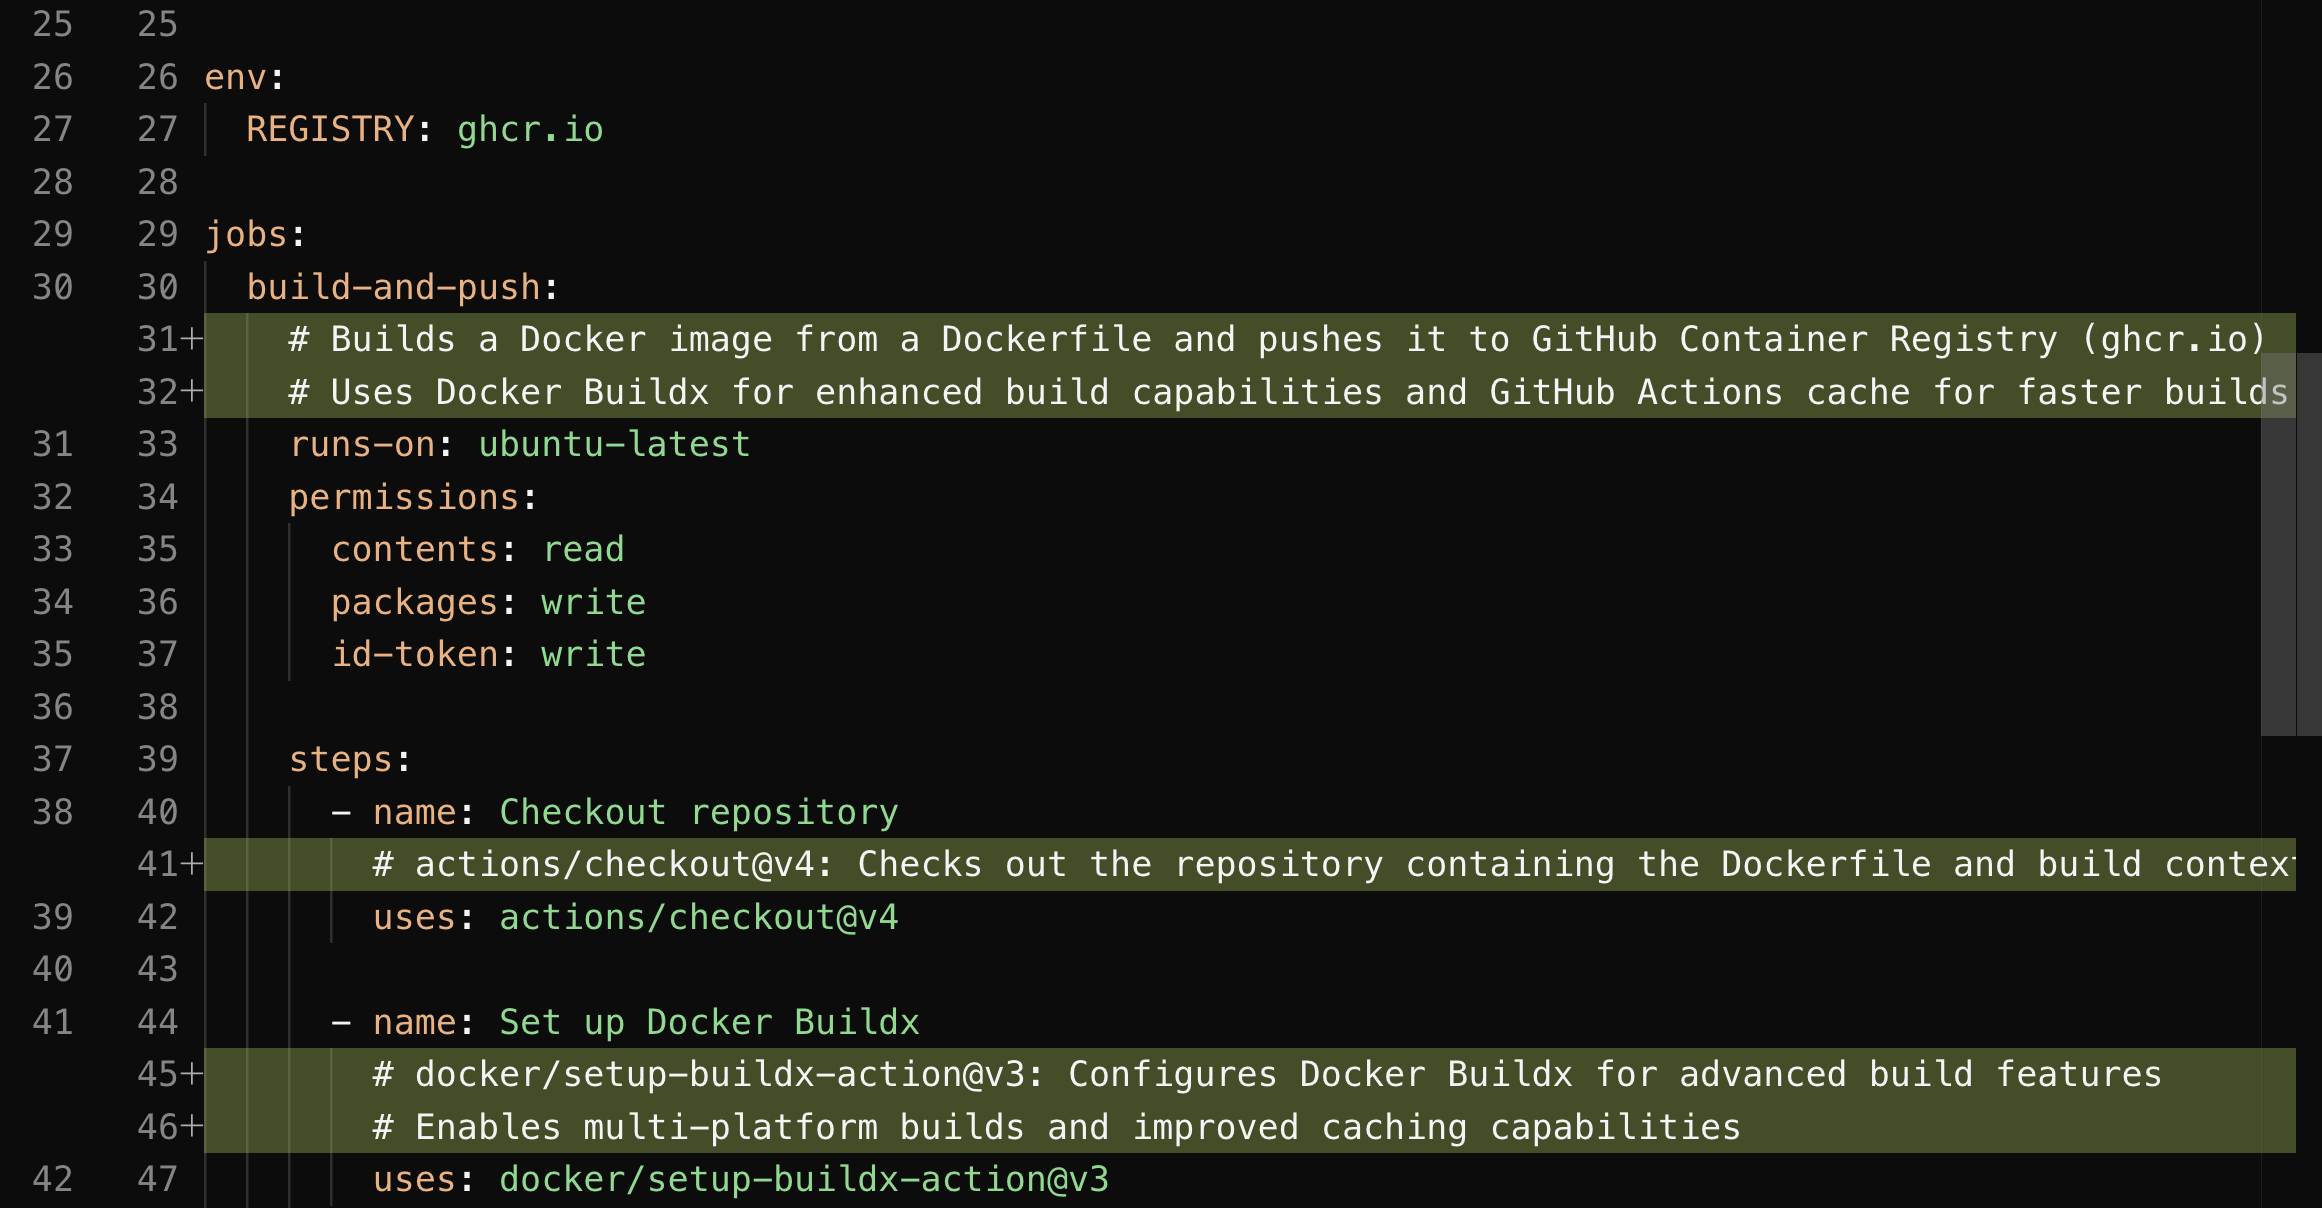
Code
The Code view is a simple editor that lets you view and update the current file. It includes syntax highlighting and hover details for built-in language specifications. You can edit the code of the underlying file here.
Preview
The Preview view will show you changes between the file's original and current state. This is very similar to the git diff view that you've seen in GitHub or other tools.
Open Pull Request(s)
This button lets you open a pull request with your current changes. If you made changes to files across multiple repositories, it will create multiple pull requests. Once PRs exist for the workspace, the button reads Manage Pull Requests: you can keep editing and push a new commit to an existing PR's branch using the Update PR action.
Note that you must have write permissions in the underlying GitHub repository to create the pull request.
Sync Workspace Modal
The Sync Workspace modal provides a comprehensive view of your workspace's pull request activity. Access it by clicking the Open Pull Request(s) button when you have changes in your workspace. When PRs already exist for the workspace, this button reads Manage Pull Requests.
Pull Request History
The modal displays both current and historical pull requests:
- Current PRs: Open pull requests or recently closed/merged PRs with no new changes appear in the main table
- Historical PRs: Previous pull requests are shown in expandable detail rows beneath each repository
- Status Indicators: Color-coded badges show PR status (Open, Merged, Closed)
- Timestamps: Historical entries show when PRs were closed or merged using relative time ("2 days ago")
Expanding History
Click on any repository row that has a chevron icon to expand and view its pull request history. Only repositories with previous PRs will show the expand option.
This history helps you track the evolution of your changes and understand the context of previous pull requests related to your current workspace.
Miscellaneous
The folder icon on the top left of the interface will collapse/expand the file explorer. The dashboard/arrow icon on the top right of the interface will collapse/expand the GenAI chat interface.
AI Chat Task Management
The AI chat interface includes an intelligent task overlay that appears when you have active tasks from your conversation with the Expert Workflow Agent. The overlay automatically:
- Shows when tasks are active — displays the "Active Tasks" panel when you have incomplete tasks
- Hides when complete — automatically disappears when all tasks are marked as completed
- Provides task status — shows progress indicators for pending, in-progress, and completed tasks
This keeps your workspace clean and focused, only showing task information when you need it.
GitHub CLI Access
The GenAI Editor provides integrated access to the GitHub CLI (gh) within your workspace environment. This allows you to perform GitHub operations directly from the editor context, such as managing issues, pull requests, and repository metadata.
The GitHub CLI is automatically authenticated using your CodeCargo session and has access to the repositories in your current workspace. This integration enables advanced workflows where you can combine code editing with GitHub management tasks in a single interface.
CLI Token Management
GitHub CLI tokens are automatically managed and cached for your workspace session. The tokens respect your GitHub permissions and are scoped to the repositories you have access to through CodeCargo.
Context
When it comes to GenAI and editing files, context is everything. Within the editor, the Expert Workflow Agent has context specific to what you are viewing:
- Single File - the context includes that file + every other file on the repository's selected branch
- Multiple Files from 1 Repo - same as above, every single file in the repository
- Multiple Files from Multiple Repos - the context includes all open files + every other file on the selected branch for every single repository that contains the files
To be more specific, if you open the editor with 2 files (repo-scaffold.yml in the repository reusable-workflows and create-azure-vm.yml in the repository iac-azure), then the GenAI agent will load every single file from the reusable-workflows and iac-azure repositories in context.
This allows you to directly edit or have the GenAI agent edit files in multiple repositories at the same time (e.g., your company just bought a new CVE scanner and you want to add its GitHub Action to every workflow that builds software in multiple repositories). You can also ask the AI agent to "take the best-practices from repo-scaffold.yml and apply them to create-azure-vm.yml" and plenty of other things.
Workspace Context Management
The Expert Workflow Agent automatically manages workspace context to provide relevant information about your current files and repositories. This context includes:
- Repository information and file structure
- Current file modifications and changes
- Service relationships and dependencies
The system intelligently deduplicates context information across conversation turns. If your workspace context hasn't changed between interactions, the agent won't repeat the same information, keeping conversations focused and efficient.
Context Optimization
Workspace context is automatically positioned in the conversation to provide maximum relevance while minimizing redundancy. The agent only includes updated context when your workspace state changes.
Editing Files
Launching the Editor
To edit a file, you must open the GenAI Editor with one or more files. To add files to the editor, navigate to Building Blocks and select one (or more) workflows that you'd like to edit. Then click "Add X to Editor." Alternatively, you can just click "Open Editor" and follow prompts on the screen to add files.
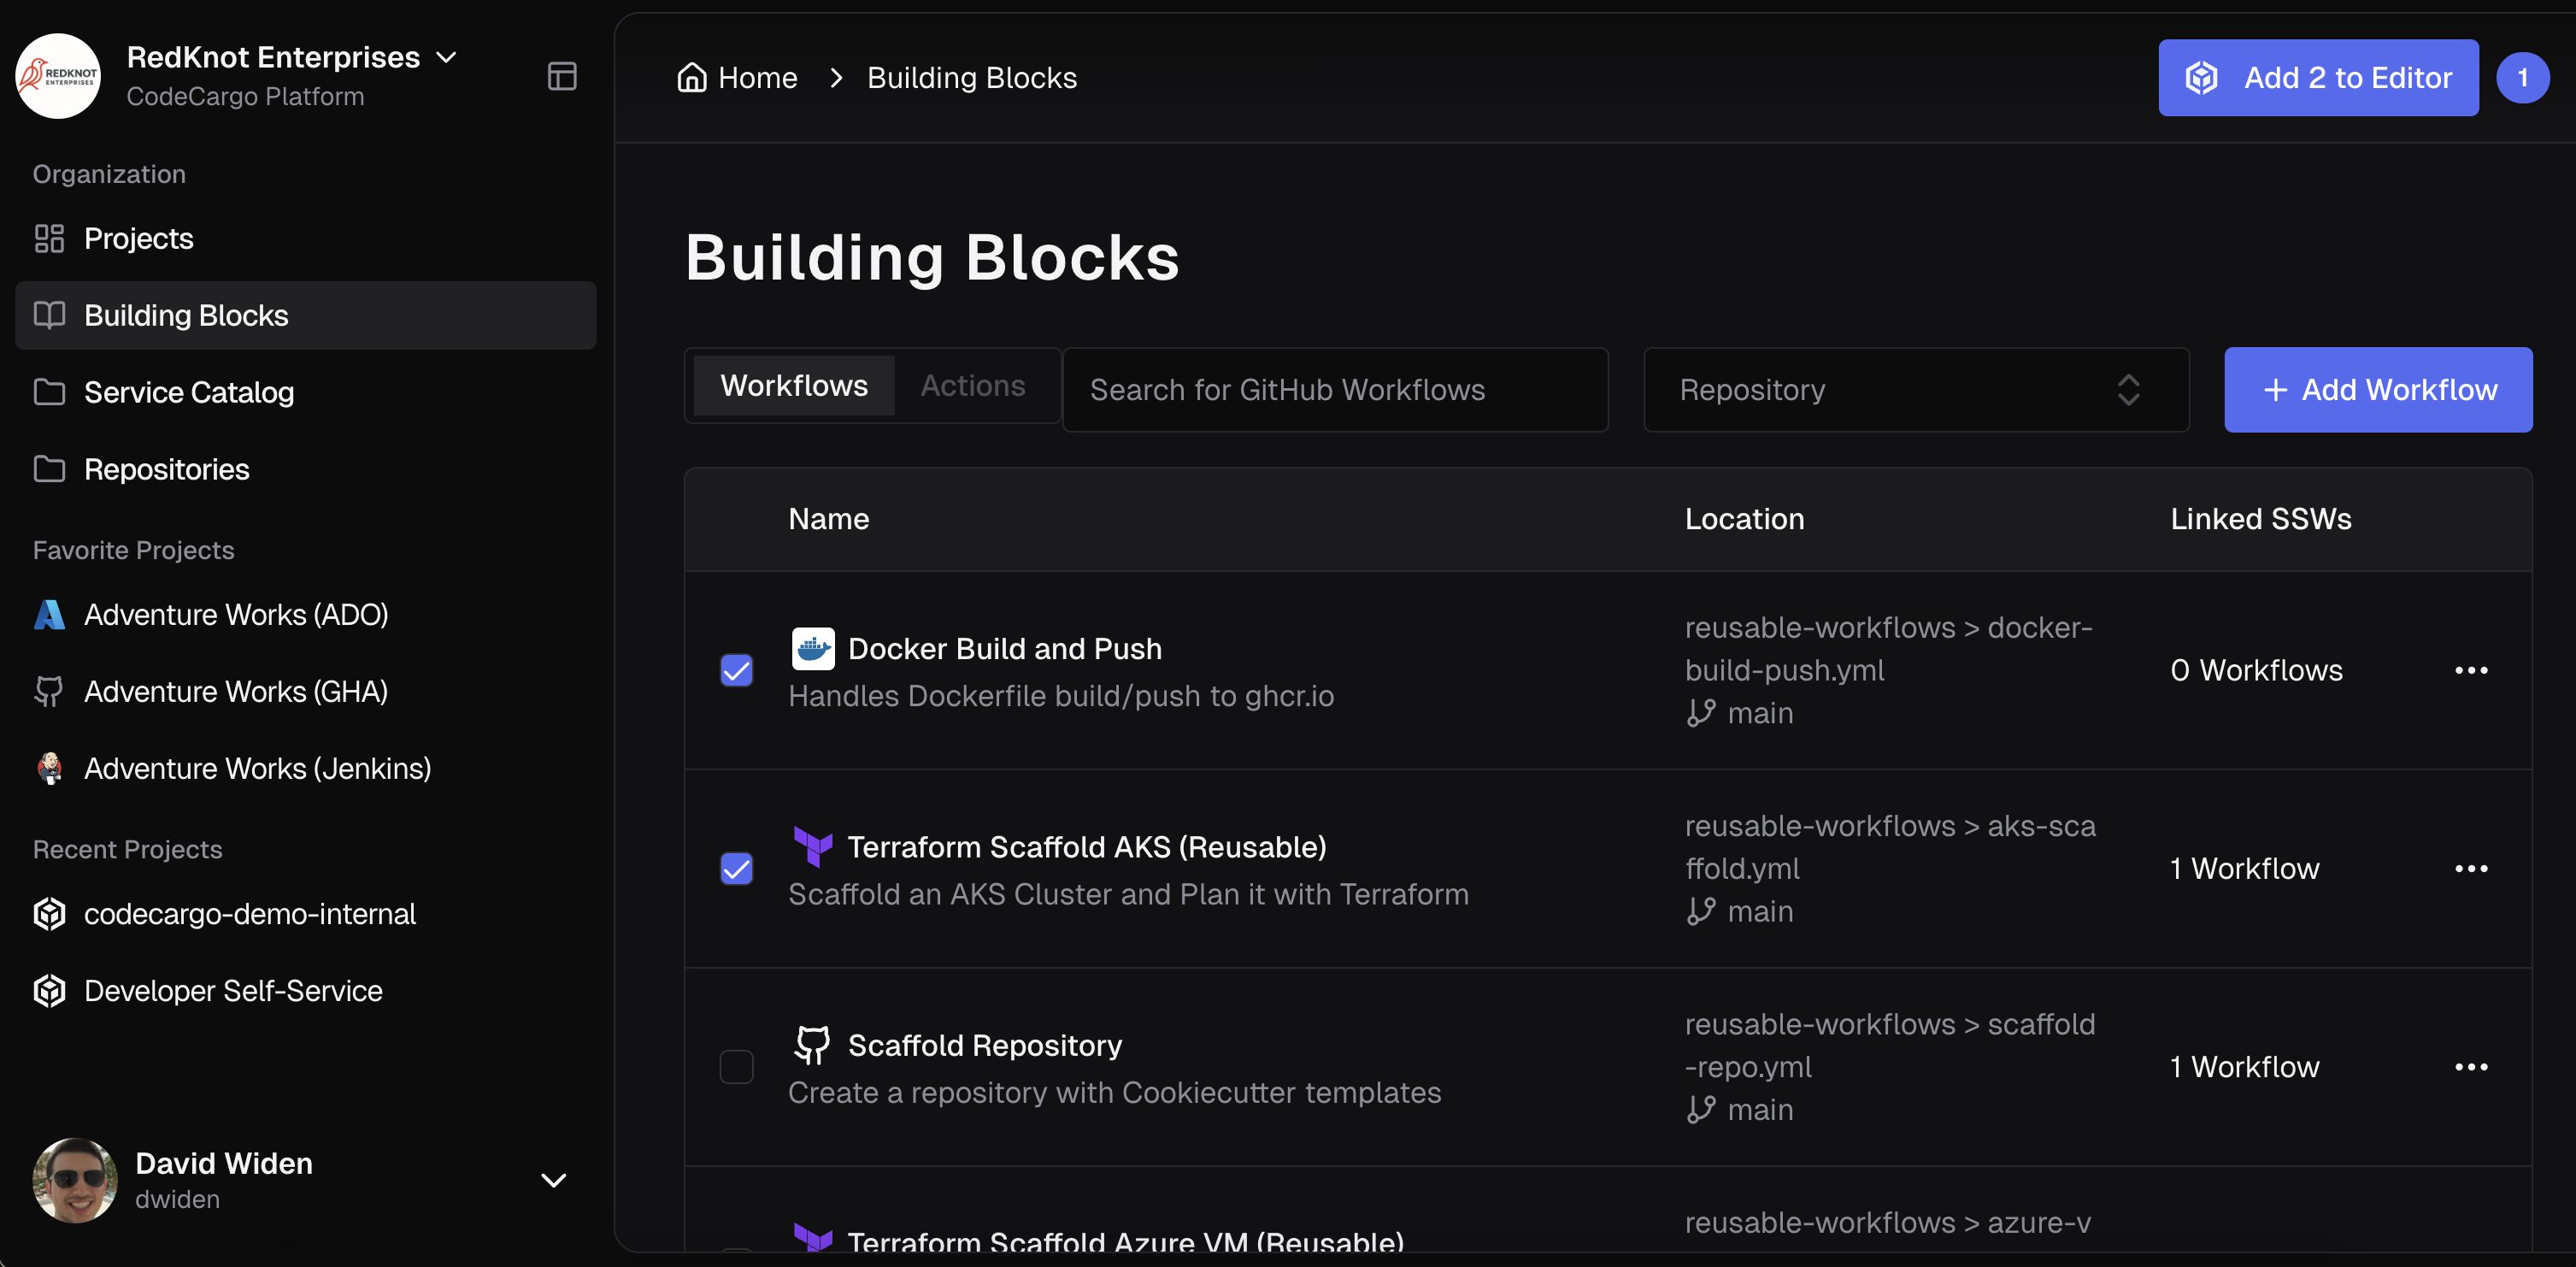
Whenever you change a file in the Editor, CodeCargo will create a Workspace. These preserve the state of your modified files so you can work with them over time or create pull requests.
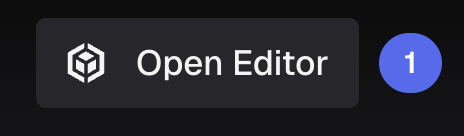
If you have any active Workspaces, the "Open Editor" button will have a badge indicating how many Workspaces you have opened. If you do not select any files and click "Open Editor," it will open your most recent Workspace. Alternatively, if you select one (or more) files by checking them, then click "Add X to Editor," you will have a brand new Workspace with those files open.
Editing Files with AI
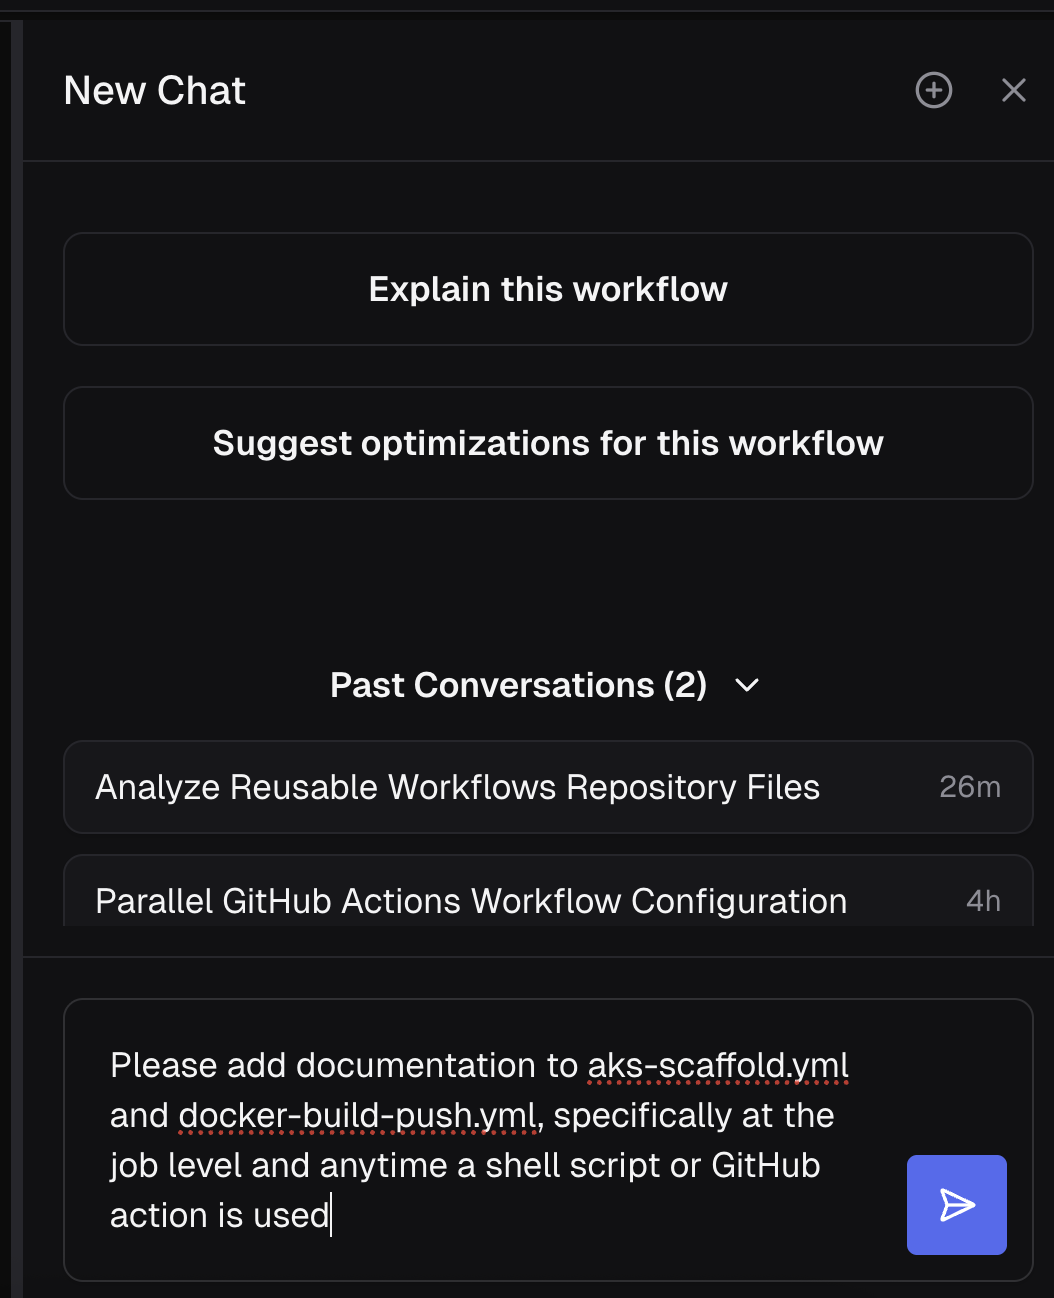
To edit your files with our Expert Workflow Agent, simply talk to the agent and tell it what you'd like to do. You can ask it questions, give it instructions, or even make it develop a plan before you want it to run. Here's a sample prompt:
After you ask a question, the Expert Workflow Agent will provide simple answers as necessary (e.g., if you ask "how many files are in this repository," it might reply "215."), show tool calls, and provide a task list for complex actions. Here is an example of output from the above prompt:
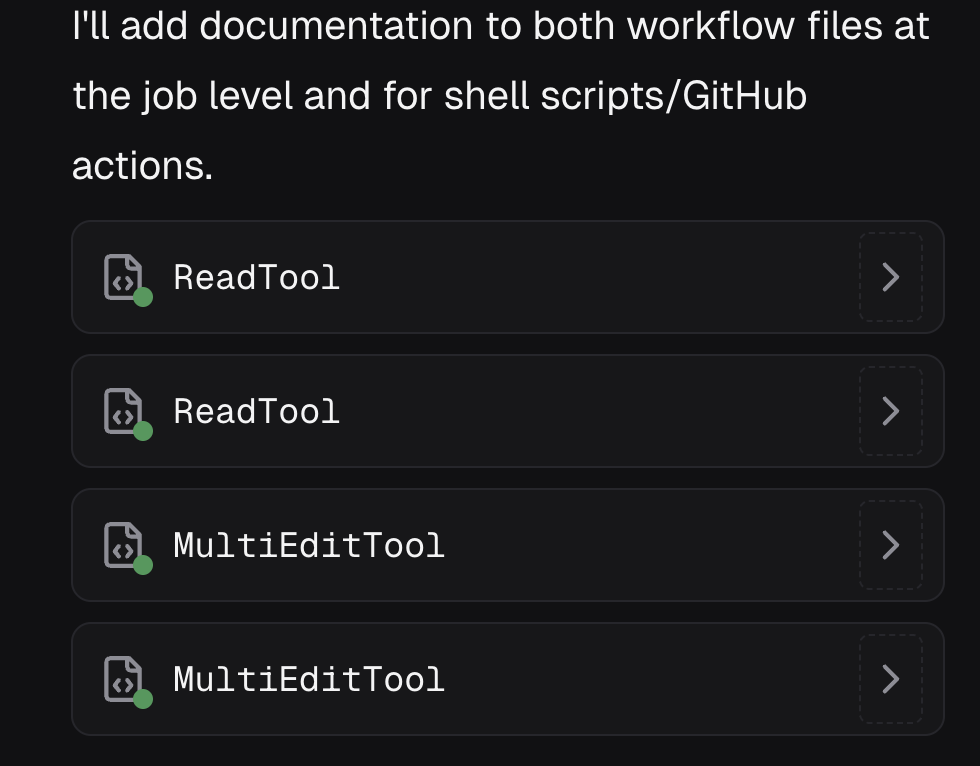
In particular, our agent ran several tools to read then write to files. Then it updated the files and explained what it did. Go to the Code tab to accept/reject the changes. To view the changes made to the file, navigate to the Preview tab at the top of the page.
Whenever you (or the AI) makes an edit to a file, there will be an "M" badge to the right of the filename in the file explorer on the left side of the screen.

Once you ask the Expert Workflow Agent to update one (or more) files, you can view the changes in both the Code and Preview views in the middle of the UI. You can accept the changes in the Code view. Once you accept the changes, highlighting will disappear in the Code view but changes will remain in the Preview view to show you all modifications between the original and current state of the file.
Workspaces
Whenever you open the editor, you are working within a Workspace, which keeps track of your current modifications even after you exit the editor page. For the full explanation of how workspaces work — including adding assets, direct URL access, and syncing — see Workspaces. The sections below cover the workspace actions specific to the editor.
Create a New Workspace
To create a new Workspace, select the files that you want to edit and then open the editor. Any changes you make will be saved in the new Workspace.
Saving a Workspace
Any changes that you directly make (or that you accept from the AI) are automatically saved. These changes will be preserved if you exit the editor or even logout of CodeCargo.
Use an Existing Workspace
If you previously edited files that are now saved in an existing Workspace, you can open the editor based on that pre-existing Workspace. To do so, click the numbered badge directly to the right of "Open Editor," click the down chevron on the Workspace you'd like to be active, click "make active," and then finally open the editor.
Creating Pull Requests
Once you are done making edits to the files within your Workspace, you can push the changes to GitHub by creating a Pull Request. Click the Open Pull Request(s) button - this opens the Sync Workspace modal that lets you create the PR. Once PRs exist for the workspace, this button reads Manage Pull Requests.
Create a New PR
If your Workspace contains new changes, CodeCargo will create a new Pull Request for you. Click the Open Pull Request(s) button, follow the on-screen instructions, and you'll see the PR in GitHub.
Edit an Existing PR
If you are making an edit to files in a Workspace where you've already created a Pull Request, opening the Sync Workspace modal lets you push changes to the underlying GitHub branch that the PR references via the Update PR action. This lets you provide new changes to an existing PR.
Note you can only push changes to the underlying branch of a Pull Request that you've created in CodeCargo
Complex Changes
There may be situations where you want to create new and edit existing Pull Requests from your Workspace. For example, you may have added a file to your Workspace, edited it, created a Pull Request, then added a new file to your Workspace, then edited both files.
In that scenario, you can edit an existing Pull Request (the first time) and create a new Pull Request (the second file). CodeCargo will seamlessly handle this for you. After you open the Sync Workspace modal, the UI will explain what action will be taken for each change.
Sample Queries / Ideas
CodeCargo's Expert Workflow Agent is incredibly powerful. Combined with the ability to make bulk modifications across multiple repositories, here are a few things you can do with it:
- Convert your Azure DevOps (or other) pipeline into a GitHub Actions Workflow
- Create a brand new GitHub Actions Workflow
- Enforce industry standard best-practices to your GitHub Actions Workflow
- Perform bulk upgrades across repositories within your codebase
- Update a reusable workflow's inputs, then update every invocation with those new inputs