
Getting Started
Quickstart
Enterprise Installations
If you are installing CodeCargo for your enterprise organization, please contact your GitHub Administrator to help with the installation steps.
Step 1: Create Your Account
Account creation and user authentication is handled through GitHub. If you don't have a GitHub account, please create one before running through these steps.
Connect to GitHub
- Sign in to CodeCargo at app.codecargo.com
- Authorize GitHub for user authentication
- Click "Connect GitHub" when prompted
- Install the GitHub App:
- Select your organization
- Choose repository access (you can start with specific repos)
- Authorize the required permissions
- Close the popup window
Access the Application
Once you authorize the CodeCargo GitHub App, our backend will create your environment and dashboards. When it's done, your browser tab will automatically be redirected and you are ready to start using the app.
Permissions Explained
CodeCargo requests only the minimum permissions needed:
- Read access to administration, metadata, organization administration, and organization self hosted runners
- Read and Write access to actions, actions variables, code, deployments, environments, members, organization actions variables, organization secrets, secrets, and workflows
Step 2: Import a Workflow
Importing workflows to CodeCargo is incredibly easy. Follow these steps to import a GitHub Actions Reusable Workflow into the platform.
- Click on "Building Blocks" in the left navbar
- Click "+ Add Workflow" on the top-right of the screen
- Select a repository, path, and ref (GitHub branch, commit, or tag) for your workflow
- Enter a description
- Select an icon
- Click the "Submit" button
Workflow Permissions
Make sure that any GitHub Actions Reusable Workflows that you import as a Building Block are defined in GitHub repositories with the share workflow permission enabled. GitHub Docs
Step 3: Create a Self-Service Workflow (SSW)
Self-Service Workflows allow you to provide strong automation controls and functionality to your users. To create a Self-Service Workflow, you need to import at least 1 GitHub Actions Reusable Workflow as a Building Block. For your first SSW, you should pick something relatively simple or with well-defined inputs.
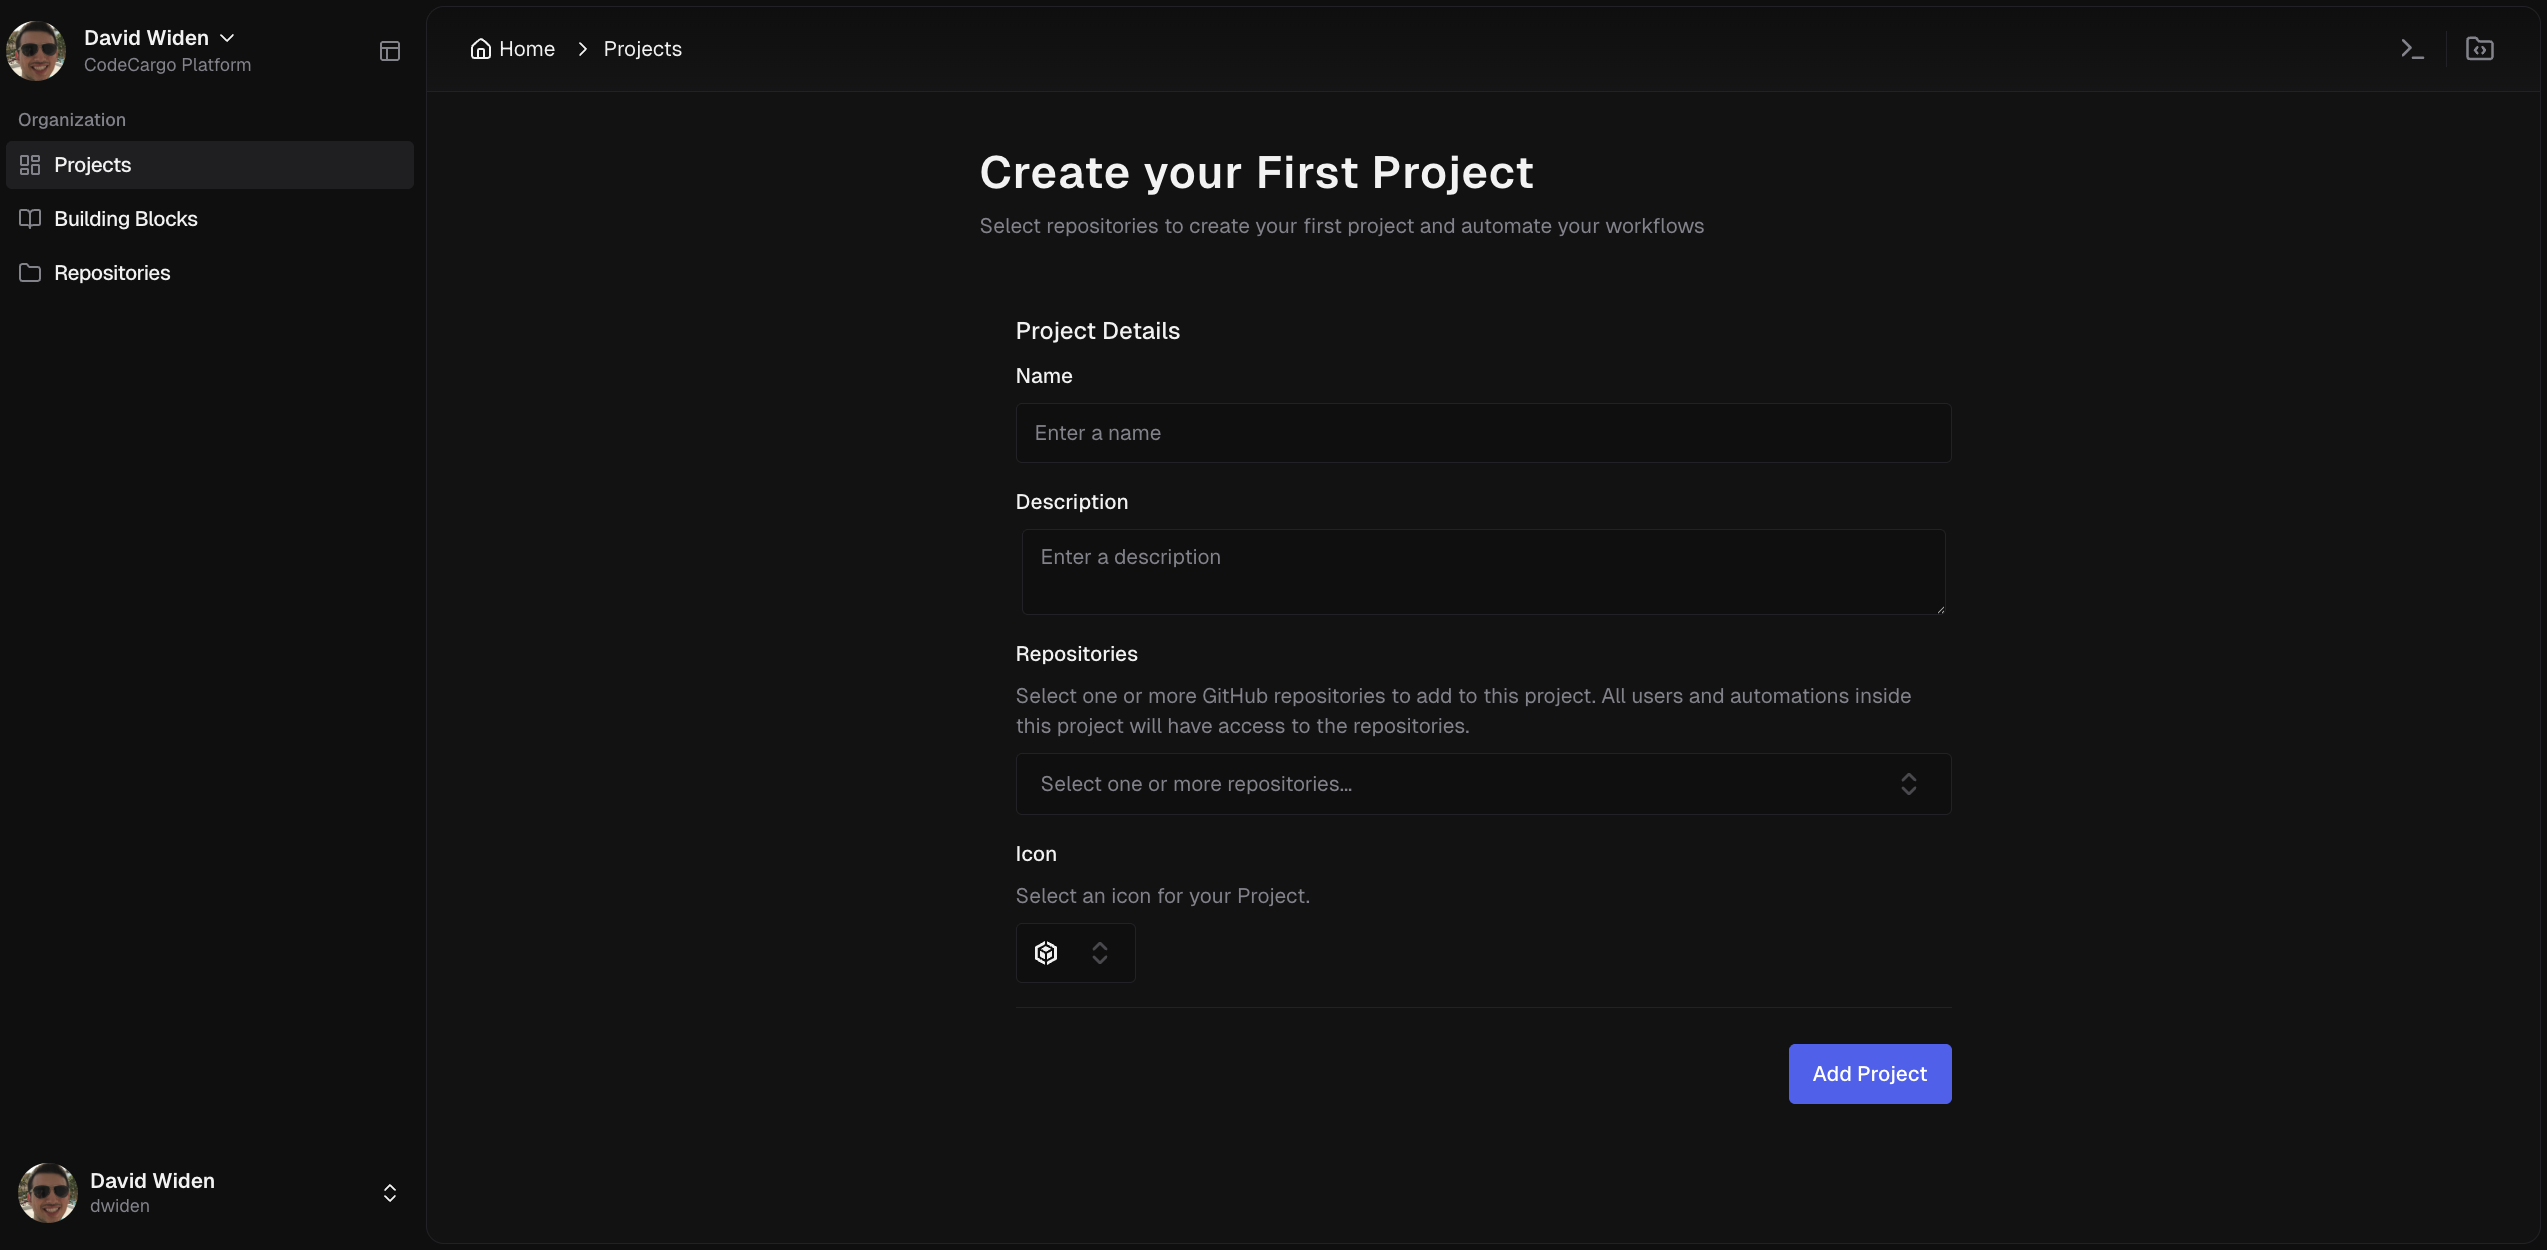
Create a Project
First, you need a Project because SSWs are members of Projects:
- Navigate to Projects in the sidebar
- Click "Create Project"
- Configure your project:
- Name: e.g., "Payment Service", "Frontend Apps", "Data Platform"
- Description: Brief explanation of the project's purpose
- Repositories: Select one or more GitHub repos to include
Create & Configure a Self-Service Workflow
Self-Service Workflow Deep Dive
Read Self-Service Workflows for a deeper dive into creating and configuring SSWs.
- Go to your Project
- Click "Create a Self-Service Workflow"
- Select a workflow from your Building Blocks
- Configure the workflow:
- Version: the branch, tag, or ref of the workflow to run (the same concept as the ref selected when importing the Building Block)
- Name: Name of the Self-Service Workflow to create
- Icon: Icon to display for the Self-Service Workflow
- Description: Description of the Self-Service Workflow
- Select the GitHub repository where the workflow will run
- Configure the inputs for the workflow form
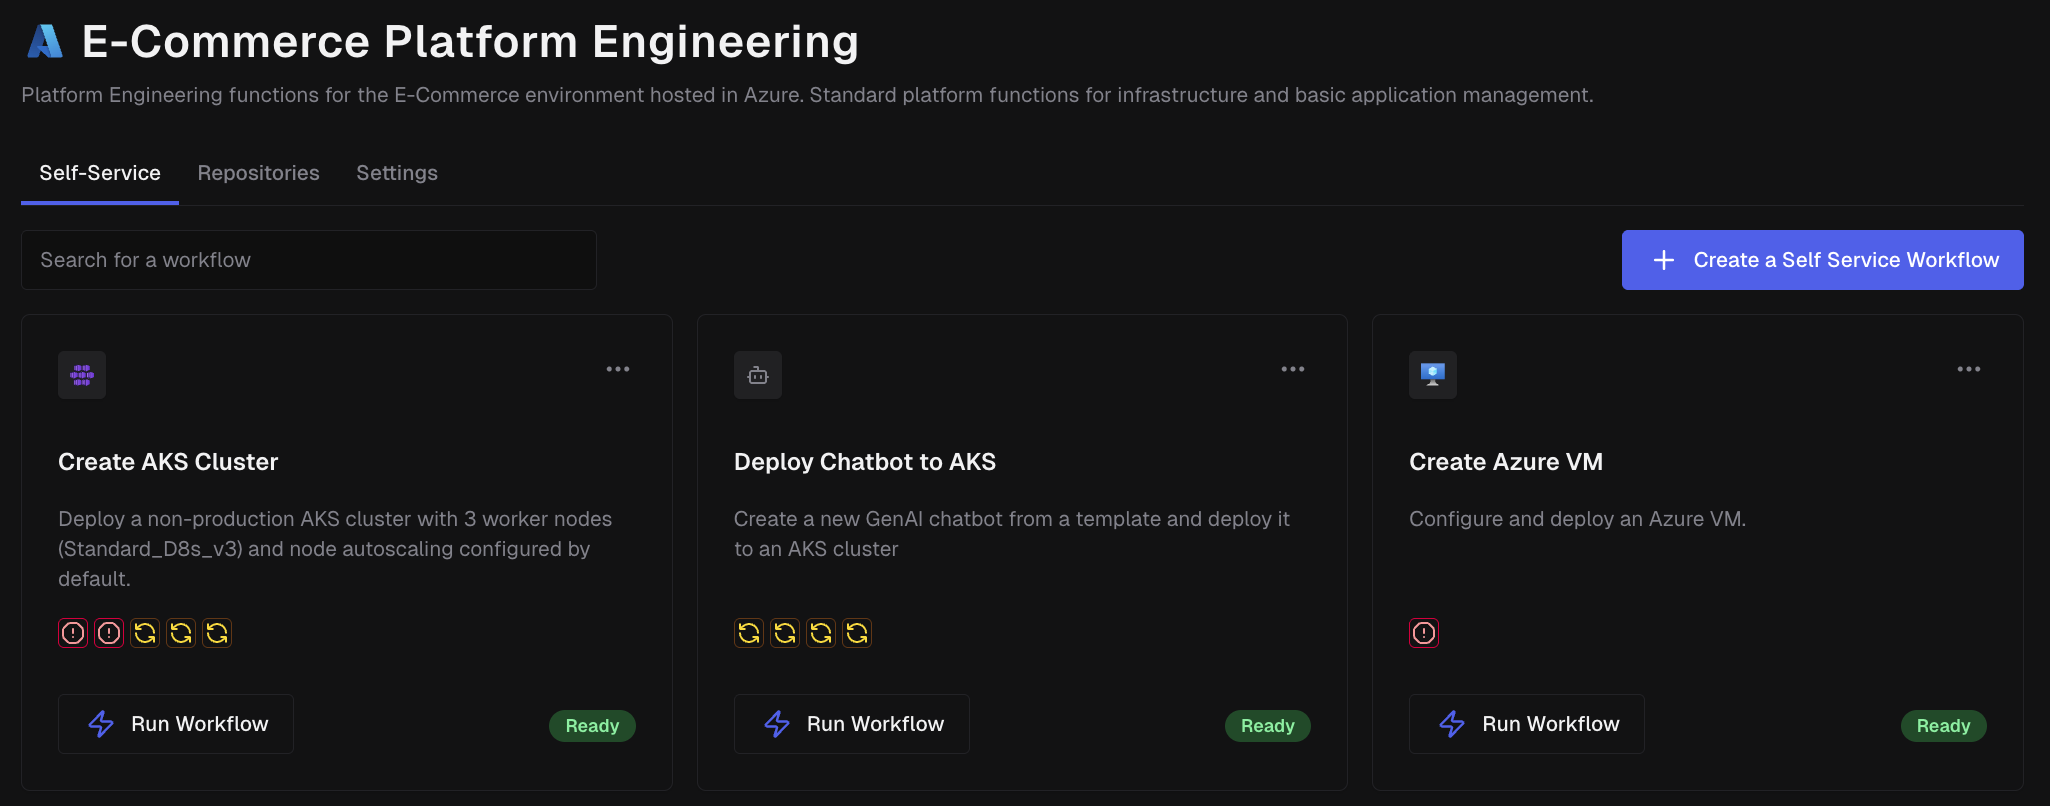
Step 4: Run Your First Workflow
Now that you created a Self-Service Workflow, it's time to run it.
- Navigate to the Project
- See all available workflows as cards
- Click "Run Workflow" on the Self-Service Workflow card you just created
- Fill out the form with the necessary parameters
- Click "Submit"
What Happens Next
You're Ready!
You now have CodeCargo running with your first Self-Service Workflow. Your developers can deploy without learning YAML, and your platform team can focus on building great automation.
GitHub Integration
Understand how CodeCargo integrates with GitHub.
Import Workflows as Building Blocks
Learn how to design effective, reusable workflows for your team.
Workflow Compliance
Deep dive into self-service capabilities.
Use the GenAI Editor
Master the AI assistant to generate workflows from plain English.